Monday, July 30, 2012

Pineapple Icing


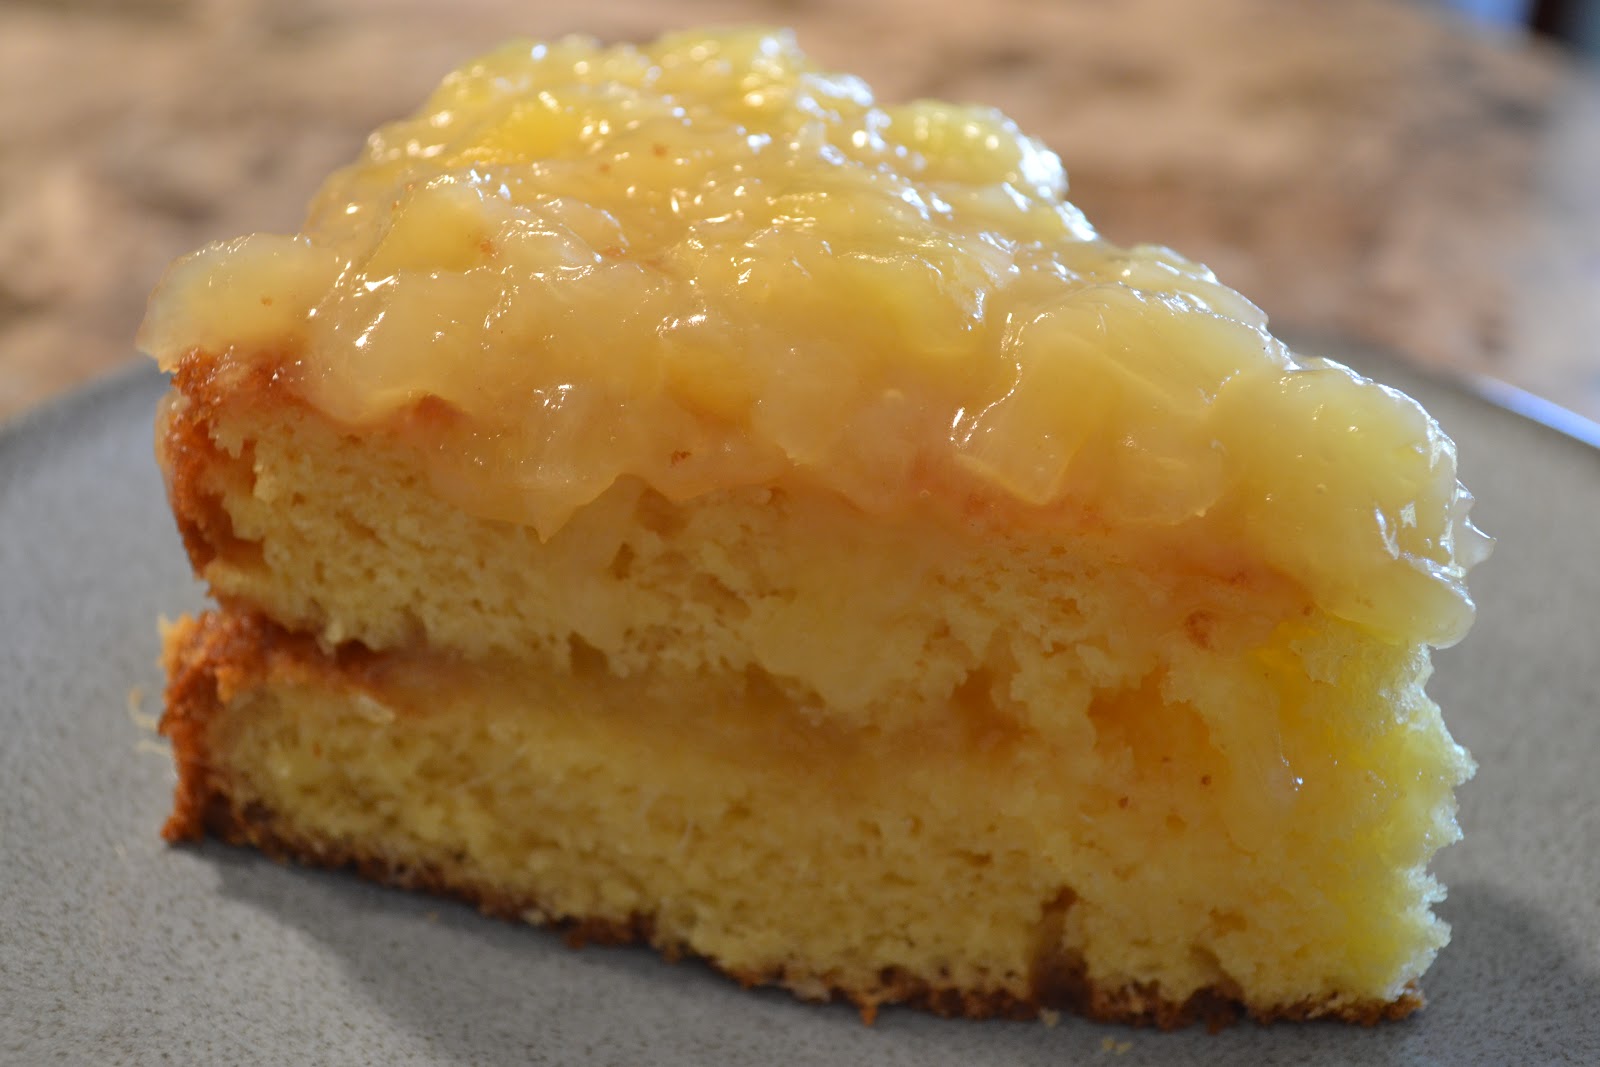
In my latest box of organized treasures, I found an icing recipe. It's a hot Texas summer, so who wouldn't love some pineapple?  To be completely honest, this recipe isn't exactly what I would consider to be pineapple icing. It would, however, be perfect as a filler between cake layers. When done, the consistency was kind of like a pie filling. So unless you're serving a sheet cake still in the pan it was baked in, this isn't a stable icing. I refrigerated it overnight and used it cold. I put the cake together the next day and after sitting out on the counter after about 10-15 minutes, the pineapple started to slide off. That's why there's just a picture of a slice and not the entire "hot mess" of a cake :)

Also, it was too sweet for me. I'd cut it back to probably just a cup of sugar, at the most. Even Anthony, my sweets man, said it was too sweet.

One last thing. It didn't say how big of a tin of pineapple to use. I believe I used Dole's 20oz can of crushed pineapple, juice and all. I forgot to write it down before I threw it out. Sorry!

Here's my interpretation of the recipe:

Yellow Cake with Pineapple Icing
From: Jack Everett

Duncan Hines Golden Butter Cake Mix 

Pineapple Icing

1 - Tin Crushed Pineapple
1½ Cups sugar
½ Stick butter
2 Rounded Tablespoons flour

Cook until it thickens & add 1 teaspoon vanilla.

* I baked the cake mix as directed making 2 - 9"rounds.

I hope you enjoy and give this recipe a second chance in your kitchen too.

Friday, July 27, 2012

So Close

We went to an estate sale this morning not too far from us. The kitchen was an immediate left as soon as you walked in the front door. Anthony pointed out a few cookbooks sitting next to the sink so I started looking through them. At the very bottom was a small red binder. I opened it up and immediately saw handwriting. Lots of it. Jackpot!!! Now, this sale was a family run sale. It wasn't being put on by a company. So, the daughter and son were there trying to get rid of their mother's stuff. I asked the daughter how much it was and as she flipped though it for a second, I knew she wasn't going to let it go. I was right. She got a little emotional and said, "I'm sorry, I can't let this one go. It's got my mother's handwritten recipes in it. I thought we went through everything and I guess we missed this one. I'm so sorry." Dang it! SO close. I told her that I understood. I guess it was bound to happen sooner or later. So, while it sucks that I missed out on such a treasure (and I'm telling you there was A LOT of goodies in there), I'm happy that it's staying in the family.

On to the next sale :)

Tuesday, July 24, 2012

New Box of Treasures


I'd like to introduce the newest addition to my Second Chance Kitchen! I found this treasure last Thursday (7/19/12) at an estate sale pretty much down the street from my house. Everything in a box? Yes please! Organized? Absolutely! Yay! I can't wait to dig into this gem and see what's inside! I have taken a quick glance and there are some clippings as well as handwritten beauties. Where to start, where to start?!?

Three Bean Salad


Front of card
Back of Card

After trying a few sweet recipes, I thought I'd try a vegetable side. My aunt makes a three bean salad so I thought I'd give it a shot. Although this one was similar, it was a little different. Next time I make it, I will probably cut back on the amount of oil and use whole green beans instead of the french cut style. Also, I couldn't find 1 pound cans of anything. They were all just under a pound. 

If anyone knows who Mari Hooley is, please let me know!

Here's my interpretation of the recipe:

Three Bean Salad
serves 10 
From the Kitchen of Mari Hooley

1 - 1 pound can French cut green beans
1 - 1 pound can yellow wax beans
1 - pound can red kidney beans
½ cup minced green pepper
½ cup minced onion
½ cup cider vinegar
¾ cup granulated sugar
1 teaspoon salt
½ teaspoon pepper
⅓ cup oil

Day before, if desired: 
Drain beans; place in glass bowl.
Add: green pepper and onion
Mix: oil and vinegar with sugar, salt and pepper.
Pour over bean mixture; toss.
Refrigerate, covered until served.

I hope you enjoy and give this recipe a second chance in your kitchen too.

Coconut Macaroons


This recipe came out of a folder full of handwritten cards and newspaper clippings. It seemed simple enough and I've never had a macaroon with a twist of lemon so I was intrigued. They are actually pretty good. It was a little messy but I managed to spoon out 14 mounds of ooey gooey goodness. I actually baked them for 17 minutes, just because I like the more toasted aspect of a macaroon.

A word of wisdom: let them sit for just a few minutes on the cookie sheet before removing them. Not too long though, because they'll stick. (I even sprayed my cookie sheet before hand) Also, don't be a bonehead like me and place them on top of a paper towel on a wire rack to cool. I don't know what I was thinking! Needless to say, I had to perform paper towel removal surgery from the bottoms of them.

Here's my interpretation of the recipe:

Coconut Macaroons

Bake at 325° 12 to 15 min

2 c. moist coconut (5½ to 6oz)
½ tsp. grated lemon rind (packed)
1 tsp. lemon juice
¼ tsp. salt
½ c. sweetened condensed milk

1. Fluff coconut in a bowl.

2. Mix lemon rind, lemon juice, salt and condensed milk in a bowl. Drizzle over coconut and mix until evenly coated.

I hope you enjoy and give this recipe a second chance in your kitchen too.

** Update **
I've recently made another batch of these chewy Macaroons. Only this time I left out the lemon rind and juice and added 1 tsp of vanilla extract. They came out just as good! Next I think I'll try with lime instead of lemon :)

Wednesday, July 18, 2012

Buttermilk Pie


While recently going through a large box of recipes I got from an estate sale a few months ago, I ran across this one for buttermilk pie. Honestly, I'm not a big pie eater. I've never had buttermilk pie and Anthony's mentioned in the past that he likes it, so I thought I'd try this one out. I can't take credit for baking this one though. Anthony made it! I'd have to say that I liked it better the next day after being refrigerated. Then again, I'm the type of person who doesn't like fresh baked sweets out of the oven. I like them after they've had time to set and completely cool. Call me crazy, but that's me.

Anyway, the pie turned out good. We did have to cook it about an extra 10 minutes (at 350°) and it was a little on the sweet side. Anthony said he needs to tweak the recipe a bit by cutting back the sugar to probably 1½ cups. This is coming from a man who LOVES sweets so take it how you will. He knows what a buttermilk pie is supposed to taste like. So, although I thought the pie was good, I trust his judgement. 

The picture of the pie came out a little dark because he took it with his phone. Sorry about that!

Here's my interpretation of the recipe:

Buttermilk Pie

2 cups sugar
3 Tablespoons flour
1 stick oleo
1 cup buttermilk
1 teaspoon vanilla
(optional) 1 small can pineapple (crushed) or coconut or chopped pecans
3 eggs

Mix together all ingredients & pour into shell. Cook 425° for 10 minutes; then 40 minutes at 350°

*Again, we baked it for an additional 10 minutes at 350° and did not use any of the optional ingredients. We also used a Pillsbury refrigerated pie crust.

I hope you enjoy and give this recipe a second chance in your kitchen too.

The Beginning

Estate Sales. My husband and I love going to them. We really just like to look at the houses and see what kinds of things people like to hold on to. I like to look for handwritten recipes. It kind of saddens me that family members would let things like that be sold to strangers, but their loss is my gain. So, I want to give these forgotten recipes a Second Chance, in my Kitchen :)

I've collected a few sets of recipes and have decided to start this blog. That's right, the web needs another cooking blog. Although, I've never run across one like this one. My goal is to make some of the recipes I find and post them here, along with pictures of the original handwritten recipe and my finished product. Some of them have people's names and dates on them. I've decided not to edit them out of the pictures in hopes that, somehow, we can find out a little history behind the recipes. Wishful thinking, I know, but there's always hope.

Anyway, I hope you enjoy my journey!
~Kristy